
Learn what waterproofing requirements are needed for your Twin Cities basement from the experts at Country Creek Builders.
.avif)
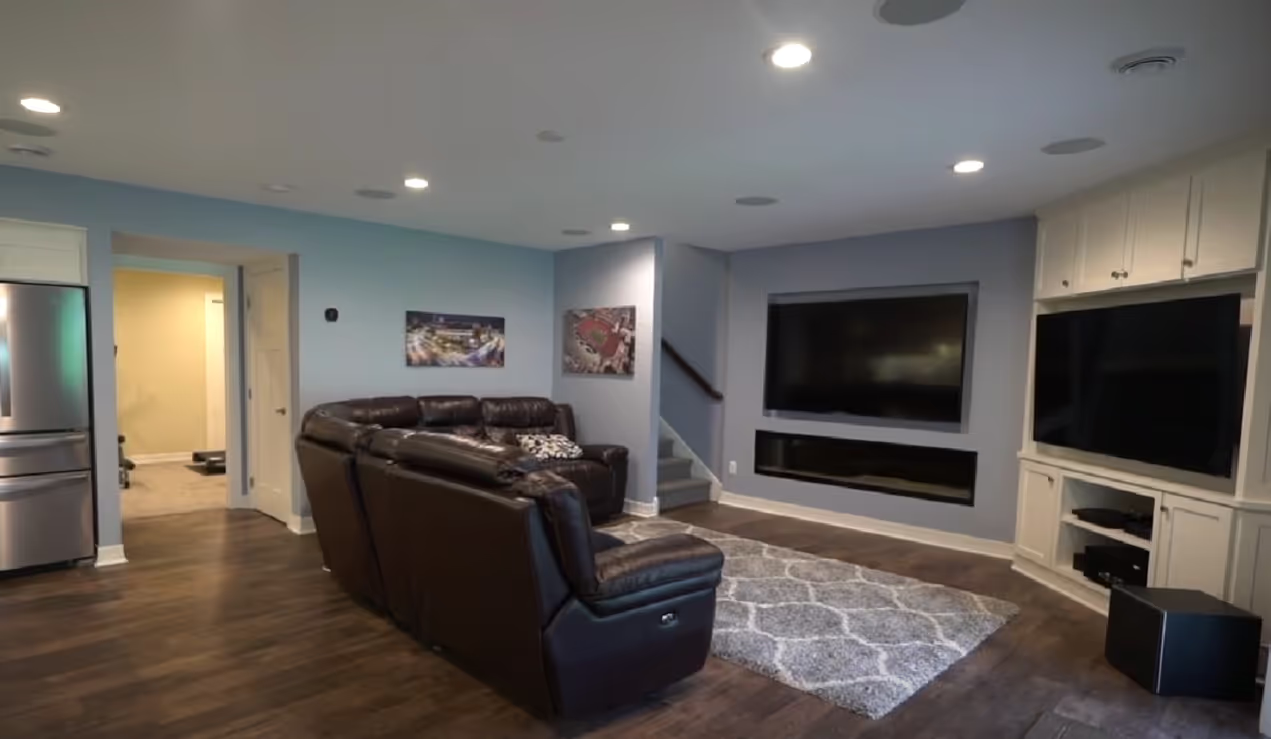
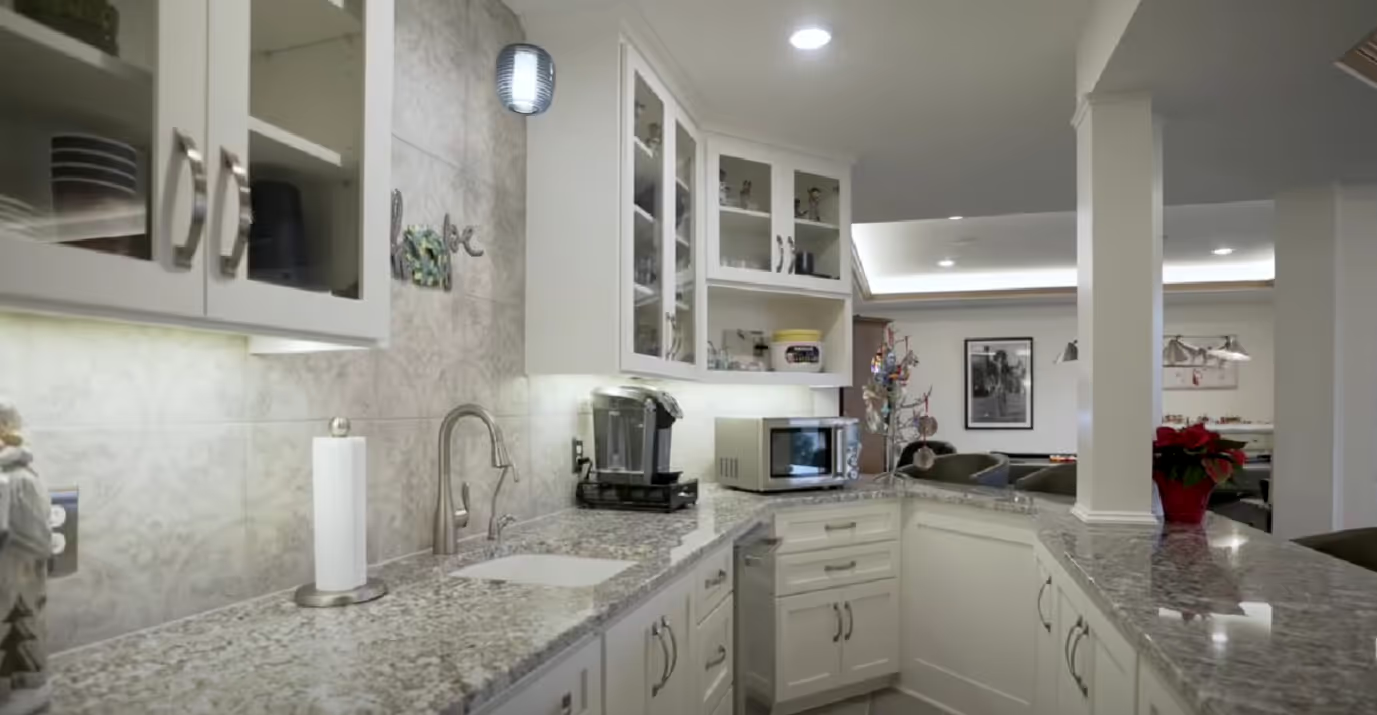
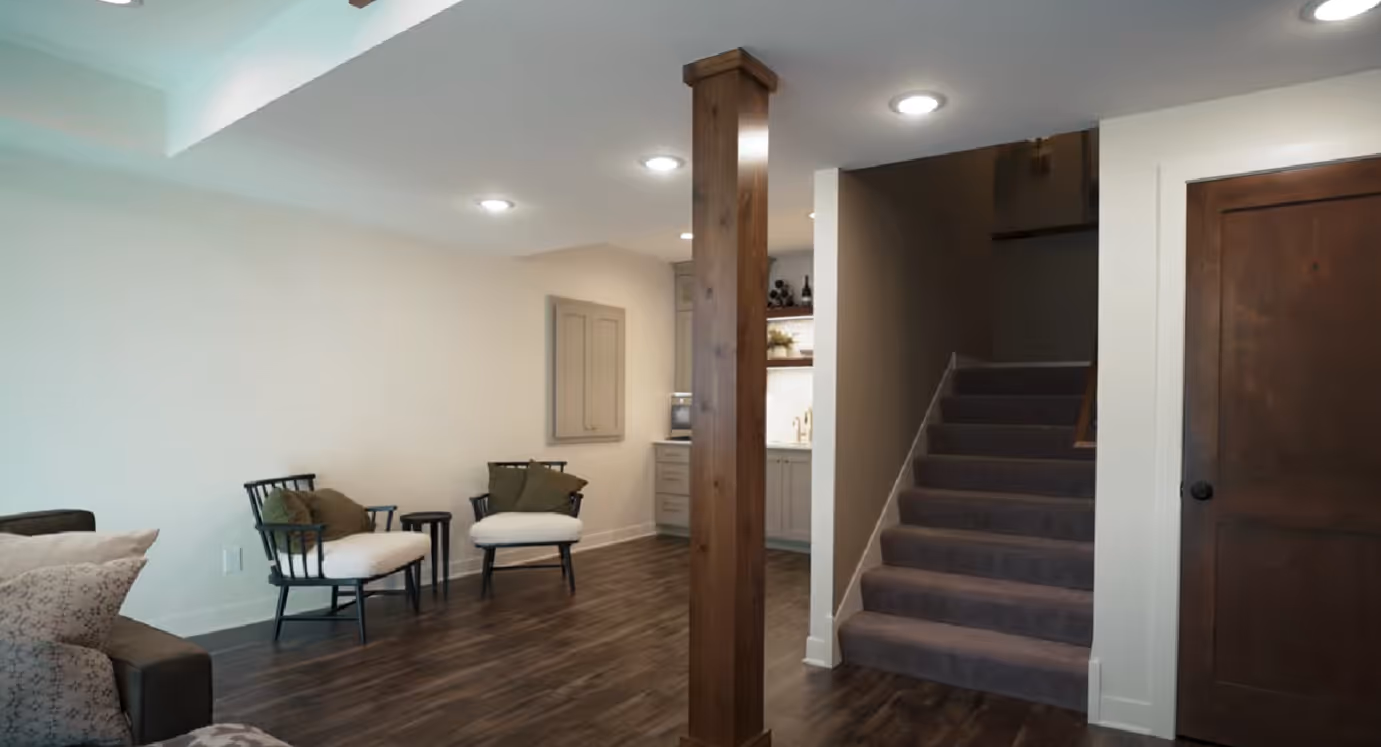
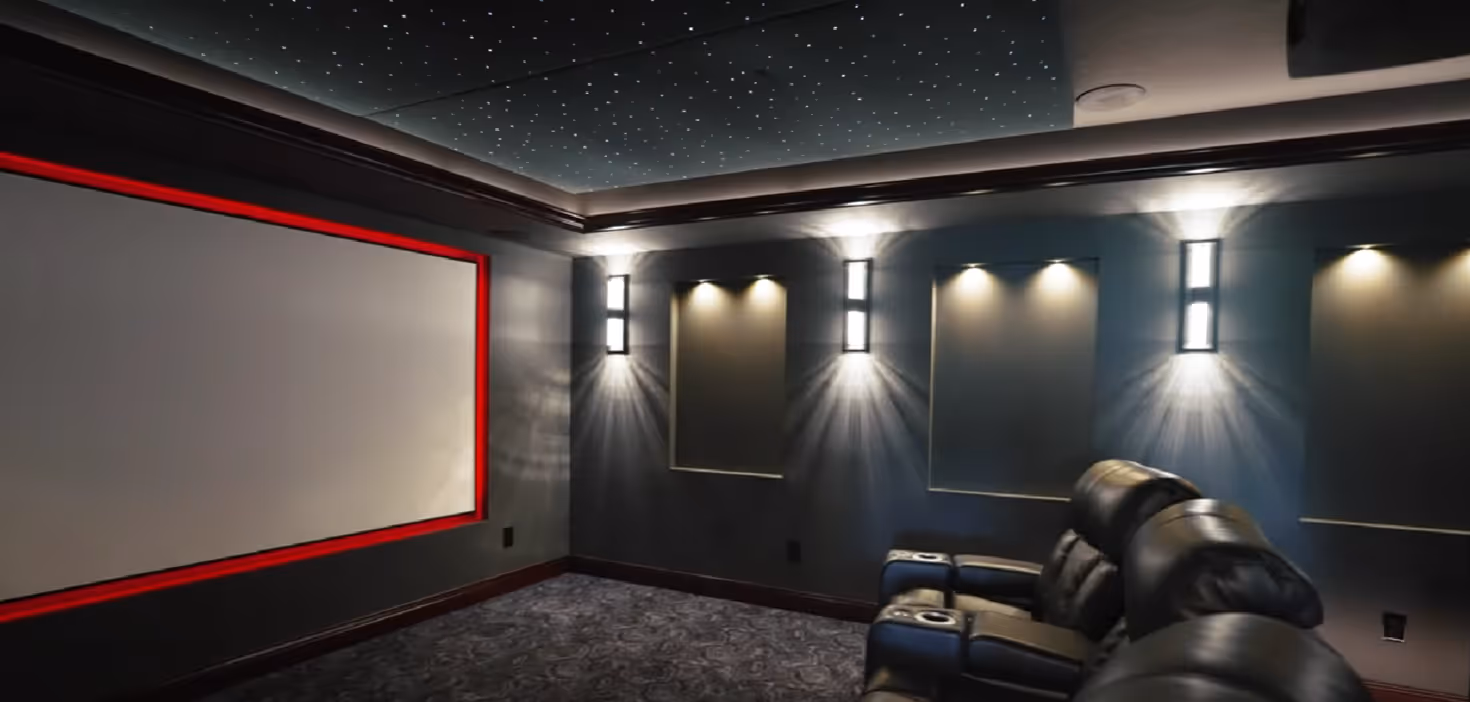
When you're sitting in your unfinished basement right now, watching another Minnesota winter approach, you're probably not thinking about moisture barriers and drainage systems. You're thinking about that home theater you've always wanted, or the kids' playroom that would finally get toys out of the living room. You're imagining family game nights in a finished space instead of avoiding that cold, concrete room altogether.
But here's what 25+ years of finishing basements across the South Metro has taught us at Country Creek Builders: the difference between a basement that becomes your favorite room and one that becomes your biggest regret comes down to what happens before the first wall goes up.
Minnesota's harsh climate creates unique challenges that homeowners in warmer states simply don't face. Between freeze-thaw cycles that crack foundations, spring snowmelt that saturates soil, and summer humidity that penetrates even the best-sealed basements, water management isn't just important—it's the foundation of every successful basement finishing project.
This guide walks through everything Lakeville, Apple Valley, Prior Lake, and Rosemount homeowners need to understand about basement waterproofing before investing $85,000 to $140,000+ in a finished basement.
Minnesota experiences dramatic temperature swings that states with moderate climates don't face. When temperatures drop below freezing, moisture in the soil expands. When they rise above freezing, that ice melts and creates water pressure against foundation walls.
This cycle repeats dozens of times each winter, creating microscopic cracks in concrete that grow larger every year. By the time your home is 10-15 years old, those tiny hairline fractures have become pathways for water intrusion.
The average South Metro home deals with 3-5 feet of accumulated snow by late winter. When temperatures climb in March and April, all that snow melts rapidly, saturating the soil around your foundation.
Without proper drainage systems, that water has nowhere to go except through your foundation walls and floor. Even homes with good drainage can experience temporary moisture intrusion during the heaviest melt periods.
Minnesota summers bring high humidity that creates condensation on cool basement walls and floors. This moisture isn't coming through the foundation—it's forming from humid air meeting cold surfaces.
Finishing a basement without addressing humidity control means trapping moisture behind walls where it promotes mold growth, destroys materials, and creates health hazards.
Much of Lakeville, Apple Valley, and surrounding cities sit on heavy clay soil that doesn't drain well. Clay expands when wet and contracts when dry, creating pressure against foundations and shifting that can compromise waterproofing systems.
Homes built on clay require more robust drainage solutions than homes on sandy or loamy soil.
The Minnesota State Building Code establishes minimum standards for basement finishing, with specific requirements designed to address our climate challenges.
IRC Section R702: Minnesota requires vapor barriers on basement walls before installing insulation and drywall. These barriers prevent moisture migration from concrete walls into your finished space.
Acceptable materials include:
The code requires these barriers to be continuous, with sealed seams and penetrations. A barrier with gaps defeats the entire purpose, allowing moisture to migrate into wall cavities.
Minnesota has some of the highest radon levels in the United States. The Minnesota Department of Health strongly recommends radon testing before finishing any basement, and many municipalities now require mitigation systems in new construction and major renovations.
Radon mitigation typically involves:
At Country Creek Builders, we've seen firsthand how integrating radon mitigation during the design phase creates cleaner, more effective systems than retrofitting later. When radon pipes are planned into the layout from the beginning, they can be concealed in walls or soffits rather than exposed across ceilings.
While exterior waterproofing typically happens during initial construction, Minnesota code requires addressing any identified moisture problems before finishing a basement.
This includes:
Floor systems must allow moisture to escape rather than trapping it beneath finished surfaces. Options include:
Wall systems must incorporate moisture management:
Most homeowners finishing their basements aren't starting with new construction—they're working with existing foundations built 10, 20, or 30+ years ago. Interior waterproofing addresses problems without excavating around the home's exterior.
Interior drain tile systems intercept water at the foundation perimeter before it can enter living spaces. The system sits at the footer level inside the basement, collecting water and channeling it to a sump pump.
Installation involves:
This approach works particularly well in South Metro homes with persistent water intrusion despite having exterior systems. It creates a failsafe that captures water even when exterior drainage is overwhelmed.
Cost range: $3,500-$8,000 depending on basement perimeter
Interior drain tile doesn't require exterior excavation, making it ideal for finished landscaping, attached garages, or homes where exterior access is limited.
Every finished basement in Minnesota should have a functioning sump pump system, even if the basement has never experienced water intrusion. Conditions change over time—drainage systems fail, soil settles, and climate patterns shift.
Quality sump pump systems include:
We've finished hundreds of basements across Lakeville and Apple Valley, and spring power outages during heavy snowmelt are common. Homeowners with battery backup sleep easy knowing their basement is protected even when the power goes out at 2 AM.
Battery backup investment: $400-$800 installed
Interior waterproofing coatings create a moisture barrier on foundation walls, preventing water from seeping through porous concrete.
Effective products include:
These solutions work best for minor moisture issues and should be viewed as one component of a comprehensive waterproofing strategy, not a complete solution by themselves.
Foundation cracks wider than 1/16" should be professionally repaired before finishing. Two primary methods effectively seal cracks:
Polyurethane injection: Flexible material that expands to fill cracks and accommodates minor foundation movement. Best for active cracks that may shift with seasonal temperature changes.
Epoxy injection: Creates rigid, structural repair that bonds crack edges together. Best for stable, non-moving cracks where structural integrity is a concern.
Foundation repair should be completed by specialists who warranty their work. We coordinate with trusted foundation repair partners throughout the South Metro to ensure proper sequencing of waterproofing and finishing work.
While interior solutions address water that reaches your foundation, exterior drainage prevents water from getting there in the first place. Homes with persistent moisture problems often need both interior and exterior improvements.
The ground around your foundation should slope away from the house at a minimum 5% grade (6 inches of drop over 10 feet). This simple principle prevents surface water from pooling against your foundation.
Common grading problems we see:
Correcting grade issues typically costs $500-$2,000 depending on the severity and whether retaining walls or extensive earth moving is required.
Gutters collect thousands of gallons of water from your roof during Minnesota's heavy rain and snowmelt seasons. If that water dumps next to your foundation, it creates hydrostatic pressure that pushes moisture through walls.
Proper gutter drainage includes:
We've seen countless basement moisture problems disappear simply by extending downspouts properly. It's the most cost-effective waterproofing improvement most homeowners can make.
Exterior drain tile systems installed at the footer level during construction are the gold standard for foundation waterproofing. These systems collect groundwater before it can contact foundation walls.
For existing homes with failing or non-existent exterior drainage, installation requires:
Cost range: $10,000-$25,000+ for full-perimeter installation
This significant investment makes sense when homes have persistent water intrusion that interior solutions can't fully address. Many homeowners in Apple Valley and Rosemount with chronic basement moisture find that exterior work is the only permanent solution.
When excavating for exterior drainage, applying a waterproofing membrane creates an impermeable barrier against moisture. Modern membranes include:
These systems are far superior to the tar coating used in older construction and should be considered whenever foundation walls are exposed.
Even basements with perfect drainage can have moisture problems if humidity isn't controlled. Finishing a basement without addressing humidity is like ignoring half the water management equation.
Minnesota's humid summers create condensation on cool basement surfaces. A finished basement traps this moisture behind walls where it can't dry out naturally.
Effective dehumidification includes:
We recommend installing dehumidification systems that integrate with your HVAC system rather than portable units. These systems are more effective, quieter, and don't require constant emptying.
Quality dehumidifier investment: $1,200-$2,500 installed
Some homeowners question whether dehumidifiers are necessary if their basement "feels dry." Here's our response after finishing 586+ projects: Every finished basement in Minnesota needs dehumidification. Without exception. The question isn't whether you need it, but rather which system works best for your space.
Proper air circulation prevents the stagnant conditions that promote mold growth and musty odors. Your basement finishing design should include:
Minnesota building code requires that finished basements receive adequate heating and cooling. This isn't optional—it's mandated because temperature control directly impacts moisture management.
Energy Recovery Ventilators (ERVs) and Heat Recovery Ventilators (HRVs) provide fresh air circulation without the energy loss of simply opening windows. These systems are particularly effective in finished basements where fresh air circulation is limited.
ERVs transfer both heat and moisture, making them ideal for Minnesota's humid summers and dry winters.
HRVs transfer heat only, working well in homes that don't need moisture exchange.
For finished basements in energy-efficient homes, these systems prevent the stuffy, stale air that many homeowners associate with basement spaces.
Never finish a basement without first verifying that moisture conditions are acceptable. Testing takes a small investment but prevents devastating problems.
Several testing methods determine whether your concrete slab has acceptable moisture levels for finished flooring:
Calcium chloride test: Measures moisture vapor emission rates over 60-72 hours. The test kit sits on the floor and absorbs moisture, which is then weighed to calculate emission rates.
Relative humidity probe test: More accurate method that measures moisture conditions within the concrete slab rather than just surface emissions. Requires drilling holes and installing probes.
Plastic sheet test: Simple DIY method where you tape plastic sheets to the floor and check for condensation after 24-48 hours. If moisture collects under the plastic, your slab isn't ready for finishing.
At Country Creek Builders, we always test concrete moisture before installing finished flooring. Manufacturers void warranties if flooring fails due to moisture, and we've seen too many contractors skip testing only to have problems emerge months after completion.
Before committing to a basement remodel, monitor your space through one complete seasonal cycle if possible. Water problems don't always appear during summer inspections—they show up during spring snowmelt or after heavy rainstorms.
Signs of active water intrusion:
Any active water intrusion must be completely resolved before finishing. Covering up water problems with drywall and carpet doesn't eliminate them—it just hides them until they create more expensive damage.
Minnesota recommends radon testing in every home, but it's particularly important before finishing basements where you'll spend significant time.
Testing options include:
If radon levels exceed 4 pCi/L, mitigation systems should be installed before finishing. Integrating radon pipes during construction is much cleaner than cutting through finished spaces later.
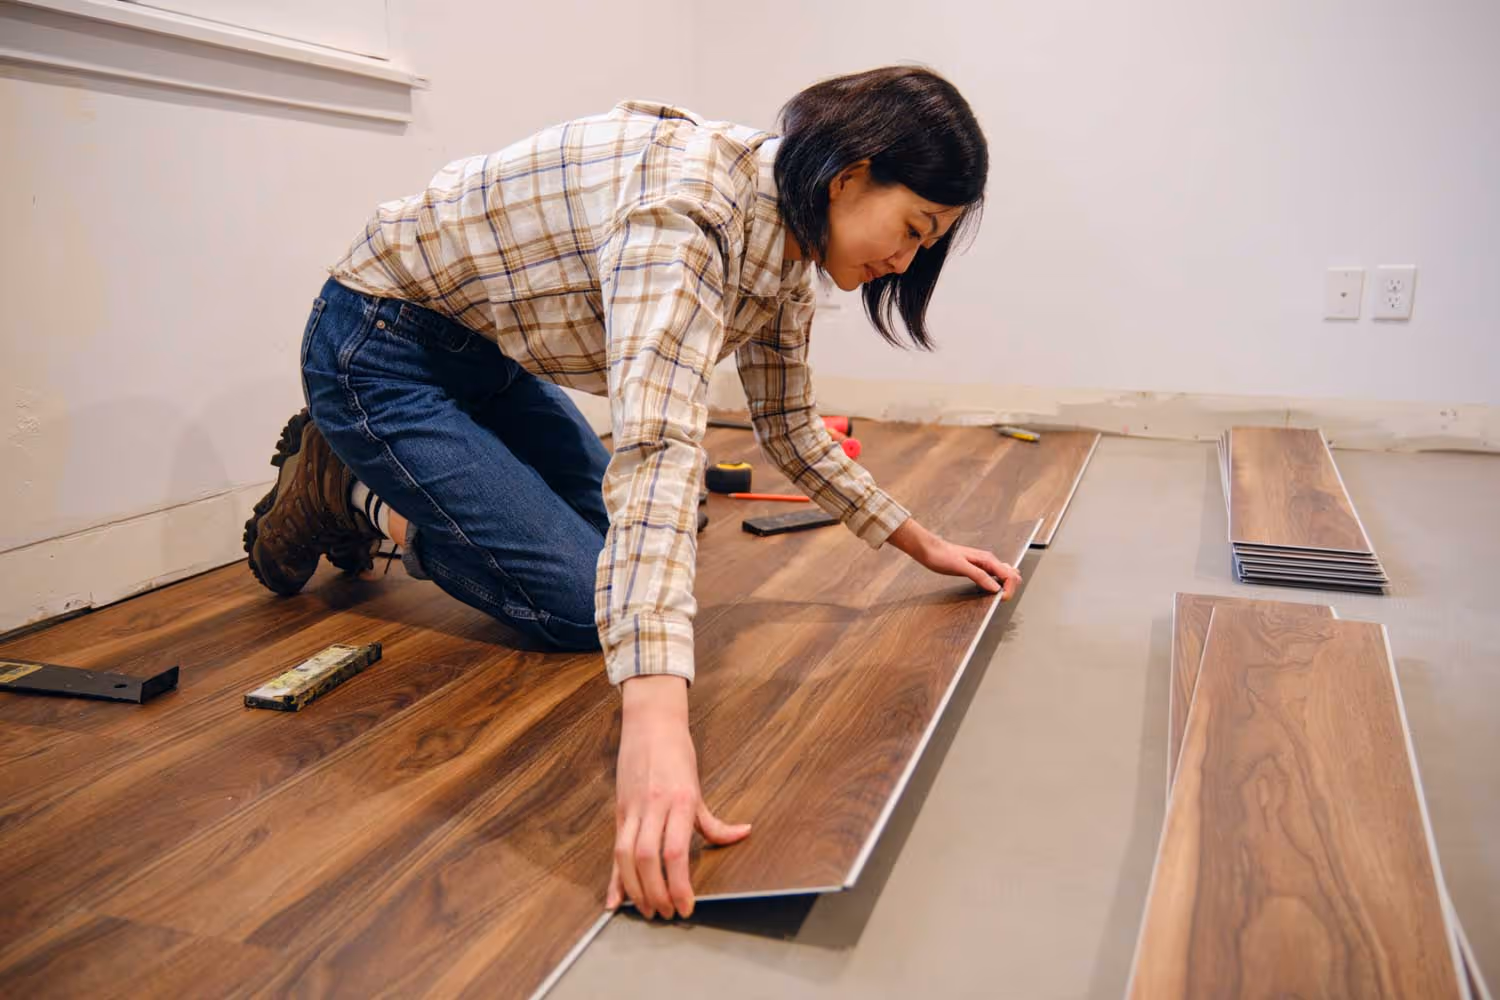
Material selection makes the difference between a basement that stays beautiful for decades and one that develops problems within years.
Best choices for below-grade applications:
Materials to avoid:
We've finished hundreds of basements across the South Metro, and LVT has become our standard recommendation. The technology has improved dramatically, offering realistic wood and stone looks with 100% waterproof performance.
Framed walls with moisture management:
Traditional 2x4 framing works well in basements when proper moisture barriers and insulation are used. The key is creating systems that allow moisture to escape rather than trapping it within wall cavities.
Insulation options ranked by performance:
At Country Creek Builders, we typically use rigid foam board systems in our basement finishing projects because they provide excellent moisture management at reasonable cost. Spray foam makes sense for problem basements with persistent moisture concerns.
Standard drywall is susceptible to mold growth when moisture is present. Below-grade applications should use:
Purple board (moisture and mold resistant): Specifically engineered for high-humidity areas. The core contains moisture and mold inhibitors.
Green board (moisture-resistant): Provides moderate moisture resistance. Acceptable for basement applications with good moisture control.
Standard drywall: Only acceptable in basements with exceptional moisture management and no history of problems.
The cost difference between standard and moisture-resistant drywall is minimal—typically $0.10-0.20 per sq ft. Given Minnesota's basement moisture challenges, using anything but moisture-resistant drywall is penny-wise and pound-foolish.
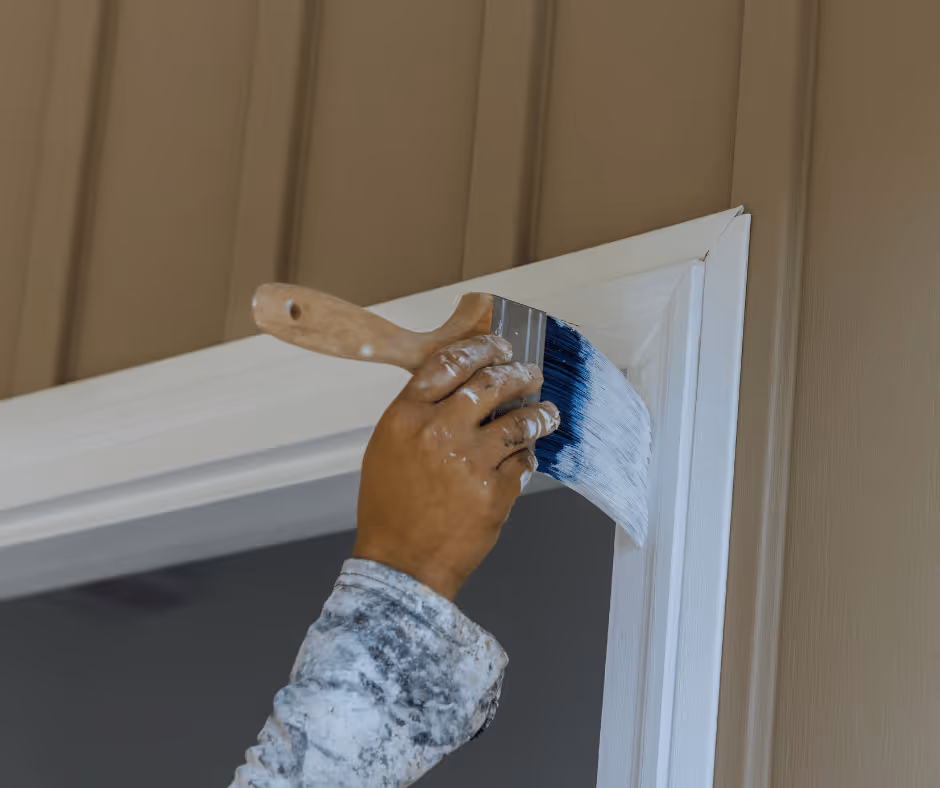
Even the best drywall benefits from moisture-resistant paint systems:
Bathroom and wet bar areas: Semi-gloss or satin finish with mold-resistant additives
General living areas: Eggshell or satin with mold-resistant primers
Concrete floors (if not carpeted or tiled): Epoxy-based floor coatings that resist moisture transmission
After 25+ years finishing basements across Lakeville, Apple Valley, Prior Lake, and Rosemount, we've seen how expensive waterproofing mistakes can be. Learn from others' experience:
The most expensive mistake homeowners make is finishing basements with unresolved water intrusion. The logic seems sound—"I've only seen water once or twice, and the walls are mostly dry."
Here's what happens: You invest $90,000 in a beautiful finished basement. The first spring after completion, heavy snowmelt overwhelms your drainage system. Water seeps through the foundation and saturates the new carpet, ruins the drywall, and promotes mold growth behind walls.
Now you're facing:
Always resolve water intrusion completely before finishing. If you're unsure whether your basement is dry enough, wait one full seasonal cycle and monitor conditions.
Some homeowners finish basements without installing dehumidification, thinking good drainage means humidity isn't a concern. Drainage and humidity are separate issues requiring separate solutions.
Without dehumidification:
We include dehumidification systems in all our basement finishing projects because we've seen the difference they make. Homeowners who skip this step almost always regret it within the first humid summer.
Hardwood and laminate flooring manufacturers specifically void warranties for below-grade installations. These materials aren't engineered to handle the moisture conditions present in basements, even basements that "seem dry."
Within 2-3 years:
The cost to replace failed flooring often exceeds what you would have spent on appropriate materials initially.
DIY moisture assessment feels like an easy way to save $200-400, but professional testing provides accurate data that prevents expensive mistakes.
Without professional testing, you might:
Professional testing costs a fraction of what you'll spend fixing problems that proper testing would have revealed.
Finishing basements without proper HVAC design creates uncomfortable, unhealthy spaces:
HVAC systems sized for your main floor can't handle additional basement square footage without modifications. Professional ductwork design should be part of every basement finishing plan.
Our systematic approach to basement waterproofing has evolved through 586+ completed projects across the South Metro. Here's how we ensure your investment is protected:
Every basement finishing project begins with a thorough in-home consultation where we:
This assessment determines whether your basement is ready for finishing or requires preliminary waterproofing work.
Before finalizing designs, we conduct:
This testing ensures we're building on a solid foundation, not covering up problems that will emerge later.
Our in-house design services incorporate waterproofing elements from the start:
When waterproofing is designed into the project rather than added as an afterthought, the results are cleaner, more effective, and more cost-efficient.
We use only moisture-appropriate materials in every basement:
Our full-time craftsmen install these systems according to manufacturer specifications and Minnesota building code requirements.
Every project includes:
We take full responsibility for everything we do, which means ensuring your basement stays dry and beautiful for decades, not just until we finish and leave.
Some waterproofing work is appropriate for skilled DIYers, while other projects require professional expertise and equipment.
Gutter and downspout improvements: Extending downspouts, adding splash blocks, and cleaning gutters are straightforward projects most homeowners can handle.
Minor grading corrections: Adding soil to create proper slope away from foundations works for small areas without drainage complications.
Dehumidifier installation: Quality dehumidifiers with continuous drainage can be installed by homeowners following manufacturer instructions.
Painting with moisture-resistant products: Applying waterproofing paint to clean, dry foundation walls is within most homeowners' capabilities.
Foundation crack repair: Injection methods require specialized equipment, materials, and expertise to be effective. Poor repairs fail within months.
Interior drain tile installation: Breaking concrete floors, installing drainage systems at footer depth, and reconnecting floors requires professional equipment and experience.
Exterior excavation and waterproofing: Digging to footer depth around foundations risks damaging utilities, compromising structural integrity, and creating drainage problems if not done correctly.
HVAC system modifications: Extending heating and cooling to basements requires load calculations, proper ductwork design, and code-compliant installation.
Comprehensive basement finishing: Projects involving plumbing, electrical, HVAC, and structural modifications require licensed contractors with experience in below-grade construction.
At Country Creek Builders, we coordinate with trusted specialists for foundation repair and exterior waterproofing when needed, then handle all finishing work with our full-time craftsmen. This approach ensures every aspect of your basement meets professional standards.
Understanding waterproofing costs helps homeowners budget appropriately and avoid surprise expenses that delay finishing projects.
Interior drain tile system: $3,500-$8,000 depending on basement perimeter and complexity
Sump pump installation:
Foundation crack repair:
Interior waterproofing coating: $500-1,500 for DIY application; $2,000-4,000 for professional application
Dehumidification system: $1,200-2,500 for quality whole-basement units
Grading improvements: $500-2,000 for minor corrections; $3,000-8,000 for extensive work
Gutter and downspout extensions: $200-600 for DIY; $500-1,500 professional installation
Exterior drain tile installation: $10,000-25,000+ for full-perimeter systems
Foundation waterproofing membrane: $3,000-8,000 when combined with drain tile installation
French drain systems (spot corrections): $1,500-4,000 per area
When planning your basement finishing budget, consider:
Tier 1 projects ($85k-$100k): Include $2,000-4,000 for waterproofing measures like dehumidification, minor crack repair, and moisture-resistant materials
Tier 2 projects ($100k-$125k): Budget $3,000-6,000 for more comprehensive waterproofing including interior drain tile if needed
Tier 3-4 projects ($125k-$140k+): Reserve $5,000-10,000+ for waterproofing, especially if exterior work is required
These estimates assume your basement doesn't have major structural or drainage issues requiring extensive remediation. Homes with serious water problems may need to invest $15,000-30,000 in waterproofing before finishing makes sense.
Professional moisture testing provides definitive answers, but warning signs include:
If you see any of these signs, address moisture problems before finishing.
Exterior waterproofing prevents water from reaching your foundation and is generally more effective long-term. However, interior systems work well for existing homes where exterior excavation is impractical or cost-prohibitive. Many homes benefit from both approaches.
Yes. Even basements without water intrusion problems experience humidity issues during Minnesota summers. Finishing traps humid air behind walls where it can't escape, promoting mold growth and material deterioration. Every finished basement in Minnesota needs dehumidification.
Test before finishing your basement and every 2-5 years thereafter. Radon levels can change as soil conditions shift, homes settle, and HVAC systems are modified. Continuous monitoring provides the most accurate long-term data.
It depends on the cracks. Hairline cracks under 1/16" wide are common and usually don't require repair before finishing. Cracks 1/16" or wider, especially those showing signs of active water intrusion, should be professionally repaired first.
Finishing before fully resolving water intrusion issues. The investment to fix water problems after finishing costs far more than addressing them properly beforehand. Never cover up water problems with drywall and carpet.
Quality interior drain tile systems last 20-30+ years with proper maintenance. Sump pumps typically need replacement every 7-10 years. Exterior waterproofing can last 50+ years when properly installed. Dehumidifiers last 5-10 years depending on usage.
Always before. Waterproofing measures like crack repair, drain tile installation, and foundation coating must happen before walls and floors are finished. Attempting to waterproof a finished basement means tearing out your new improvements.
The difference between basements that become your family's favorite space and those that become expensive problems comes down to proper moisture management from the start.
If you're planning to finish your basement in Lakeville, Apple Valley, Prior Lake, Rosemount, or anywhere in the South Metro, here's your action plan:
Step 1: Schedule professional moisture testing and radon evaluation to establish baseline conditions
Step 2: Address any active water intrusion issues with appropriate interior or exterior waterproofing measures
Step 3: Verify that grading, gutters, and drainage systems function properly around your home's perimeter
Step 4: Work with experienced basement finishing contractors who understand Minnesota's unique moisture challenges and incorporate proper waterproofing into their designs
Step 5: Plan for ongoing moisture management including dehumidification, HVAC modifications, and proper ventilation
At Country Creek Builders, we've spent 25+ years finishing basements across the South Metro, and every successful project starts with comprehensive moisture management. Our systematic approach ensures your investment delivers the beautiful, comfortable, dry living space you're envisioning—not the problems that plague homeowners who cut corners on waterproofing.
Ready to create a finished basement that stays beautiful for decades? Contact us for a no-pressure consultation where we'll assess your basement's moisture conditions and discuss the right waterproofing approach for your project.
Your dream basement starts with a dry foundation. Let's build it right together.
We're based out of the South Metro Twin Cities, and we serve both

.avif)