When renovating your basement, make sure to start with water management

You're excited about finishing your basement. You've been browsing Pinterest for design ideas, imagining movie nights in your new entertainment space, or picturing your kids finally having a dedicated playroom. But before you start picking out paint colors or shopping for that perfect sectional sofa, there's something critical you need to address first: moisture management.
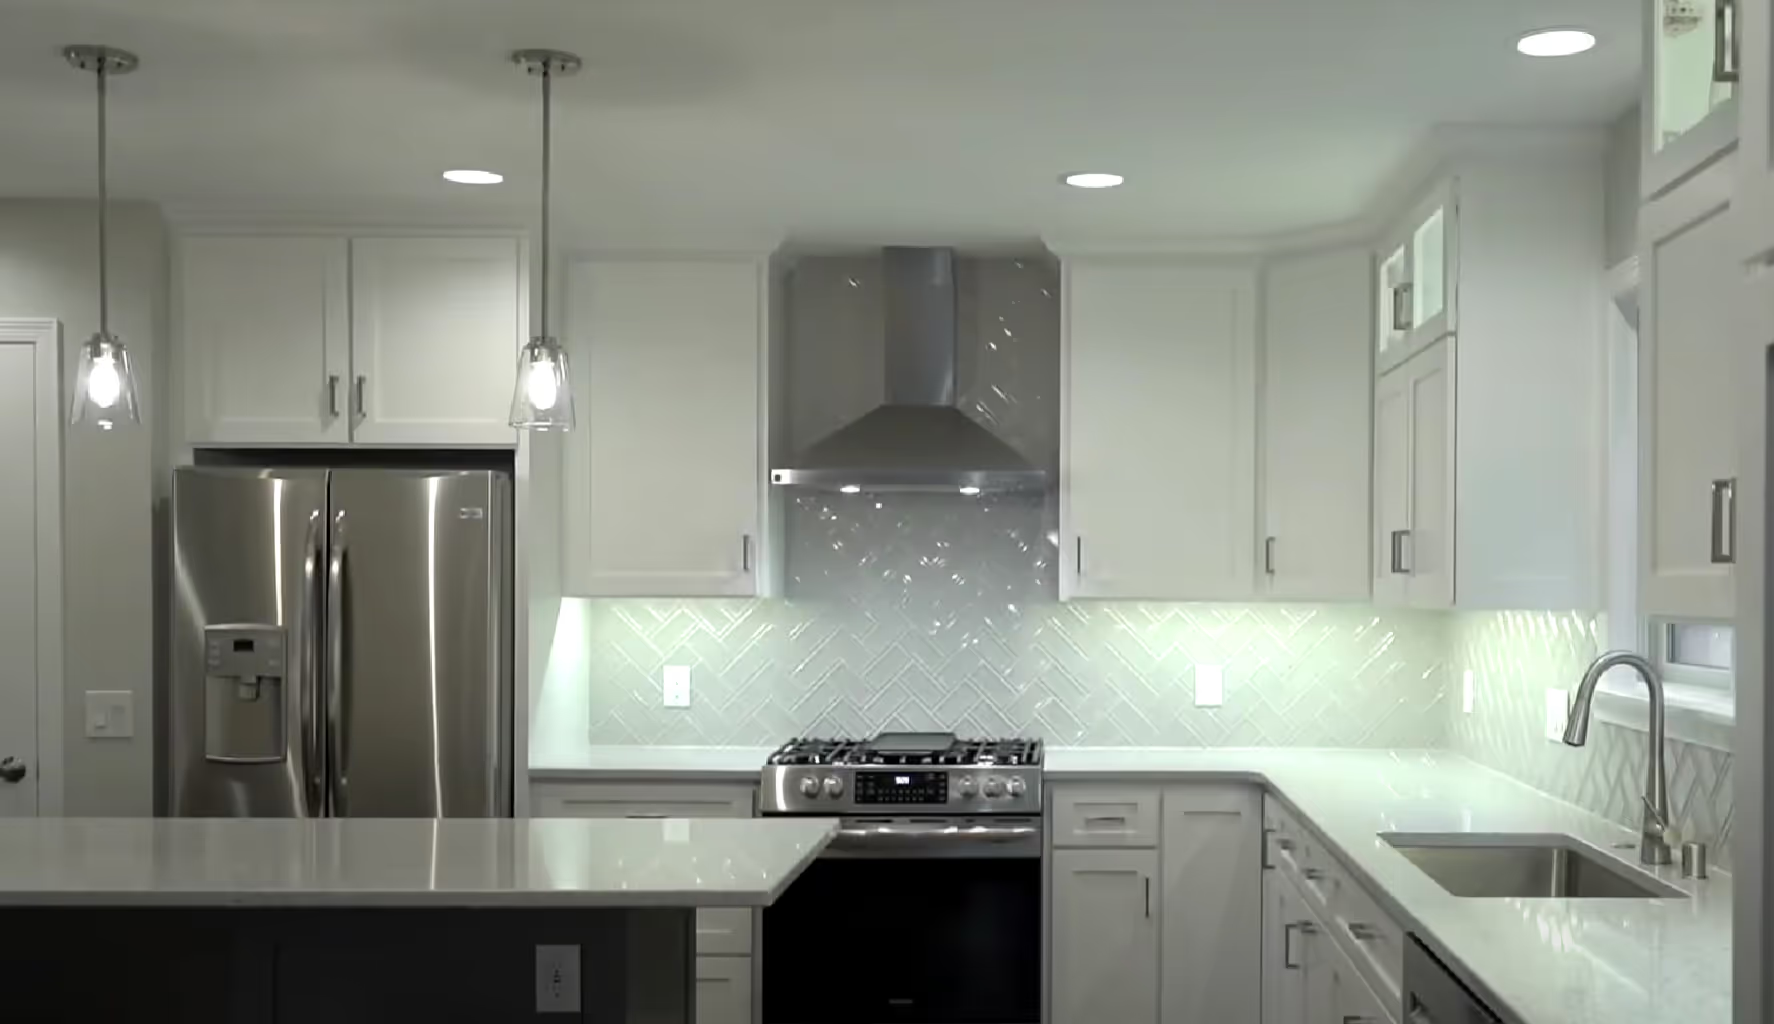
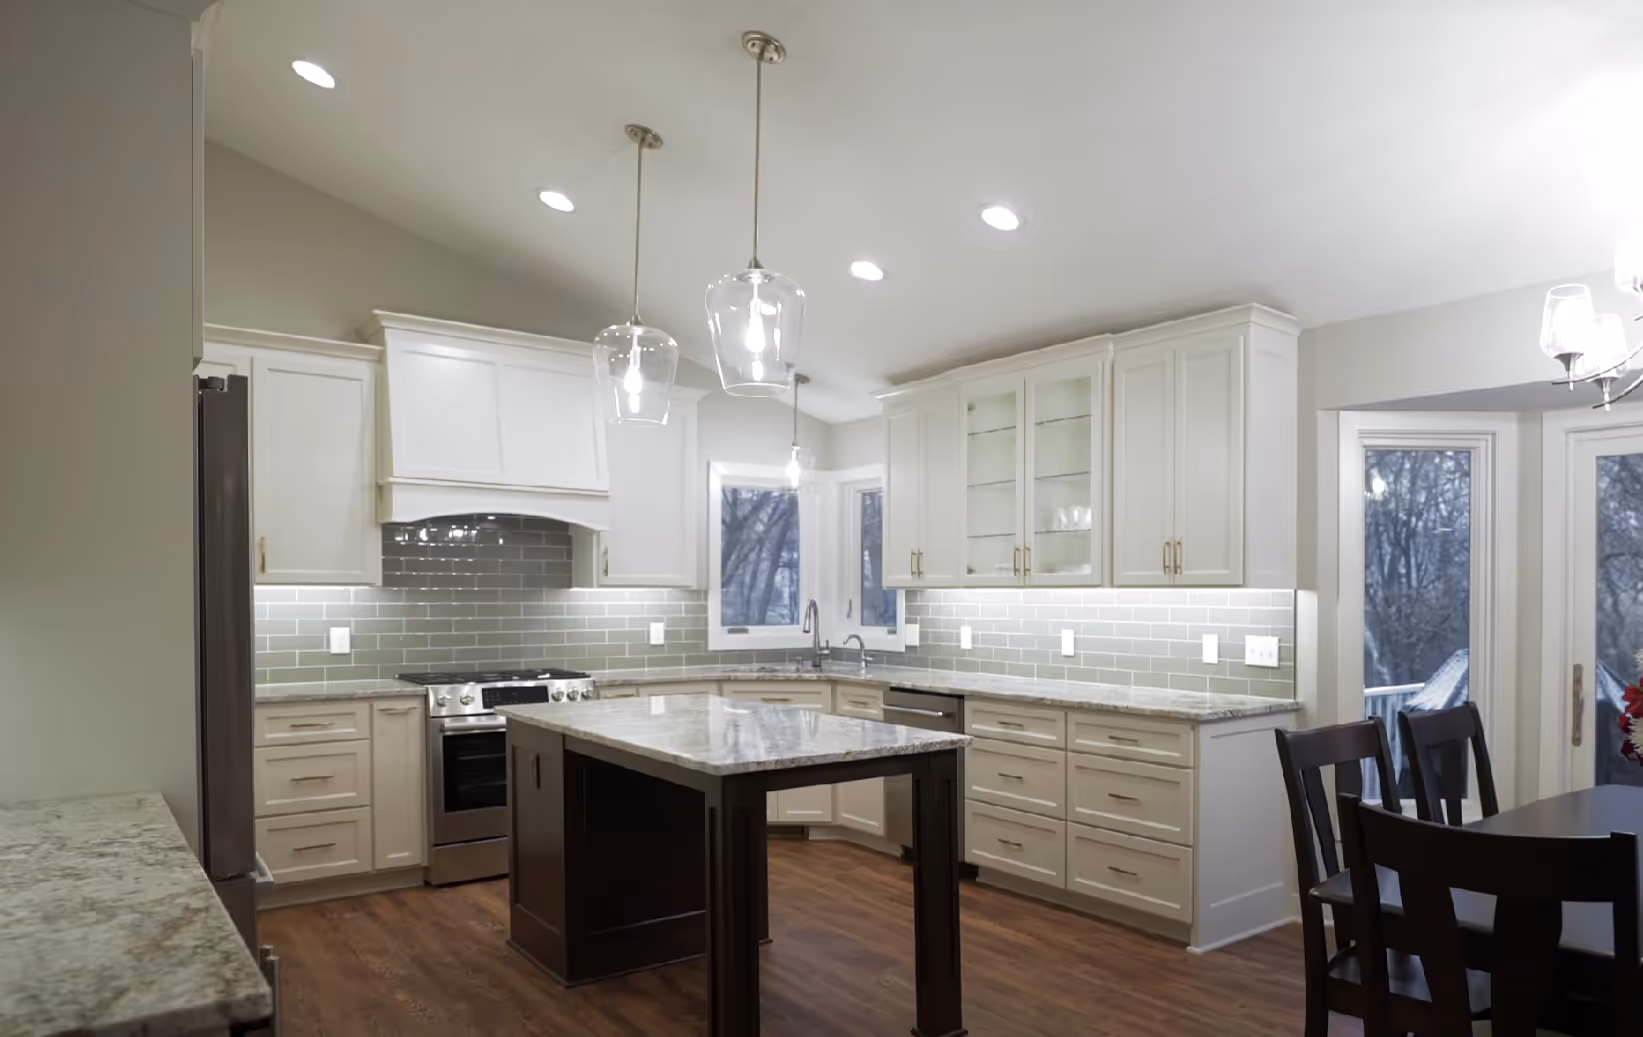
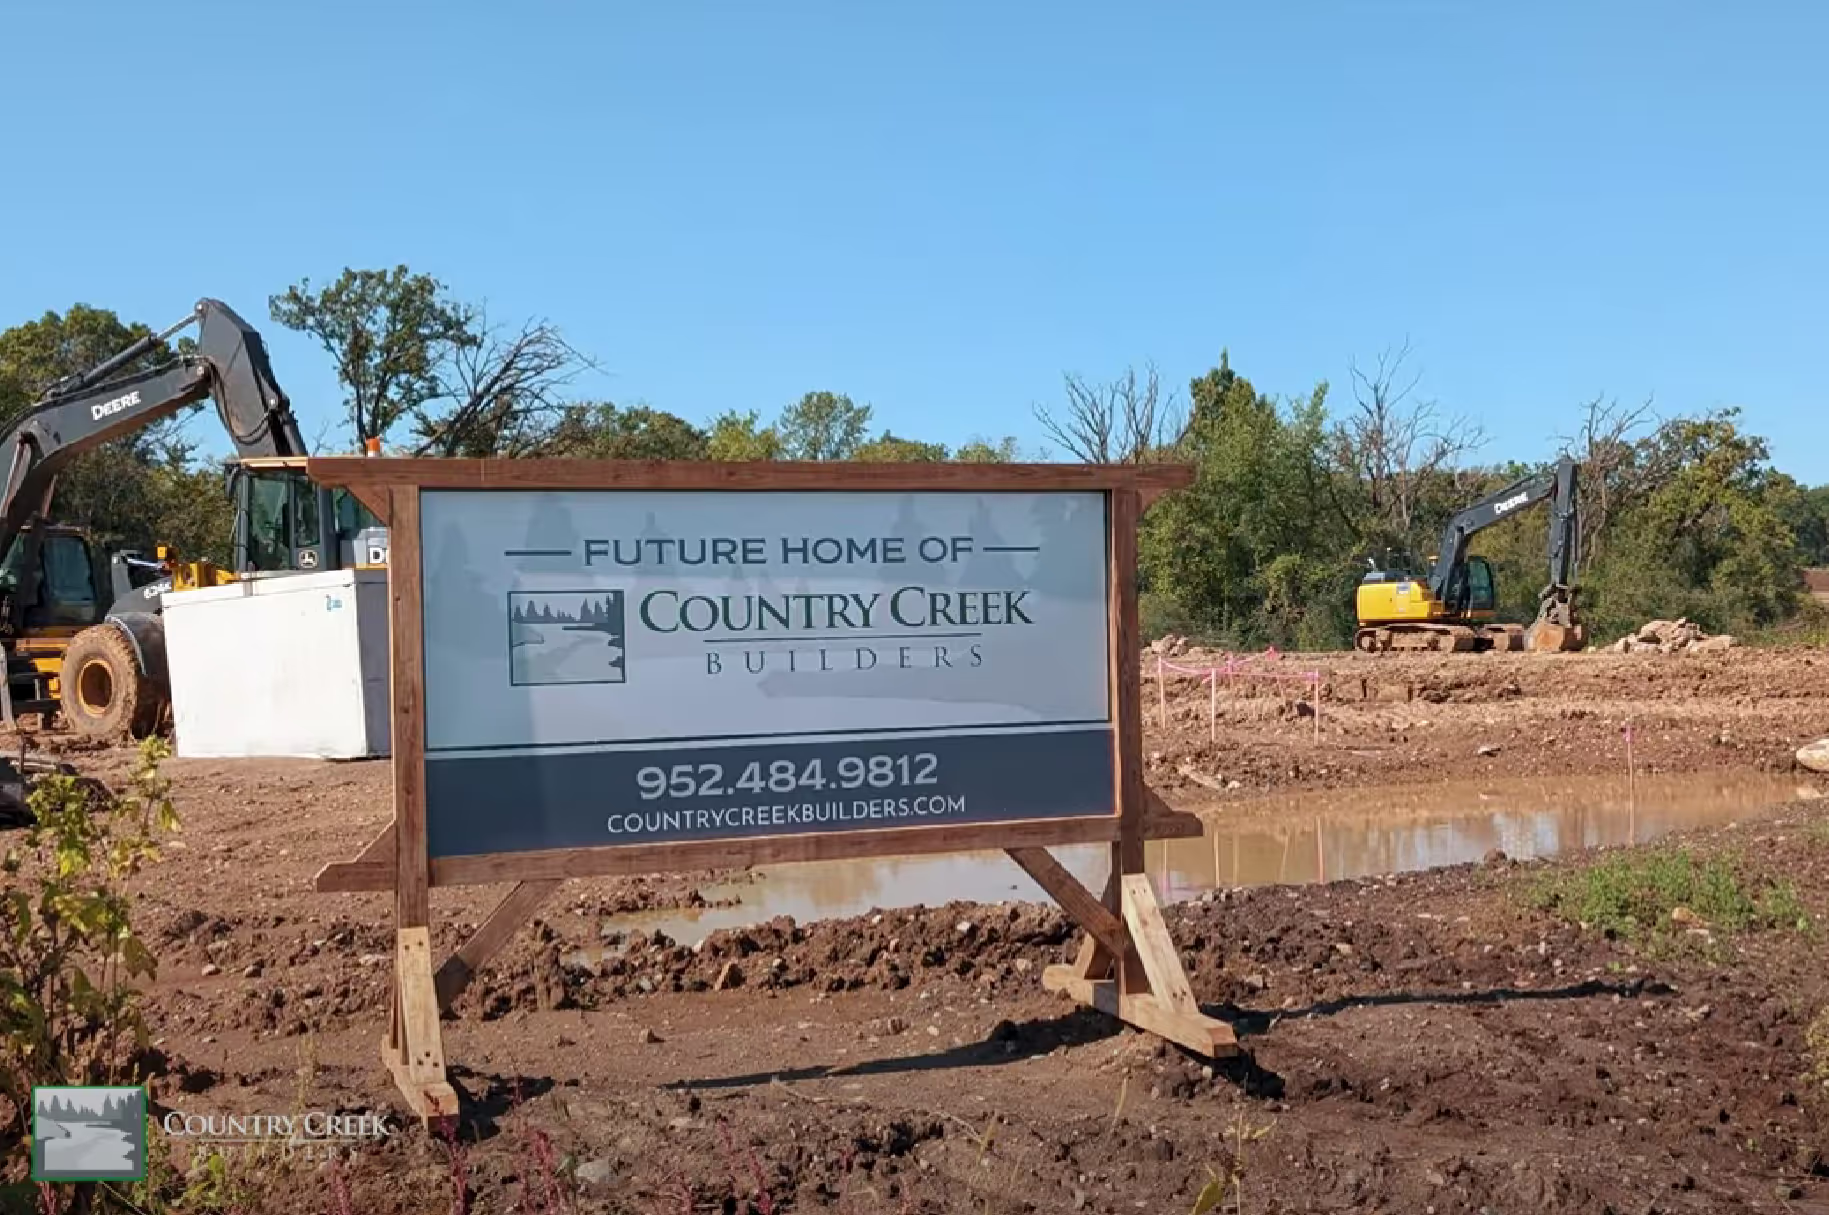
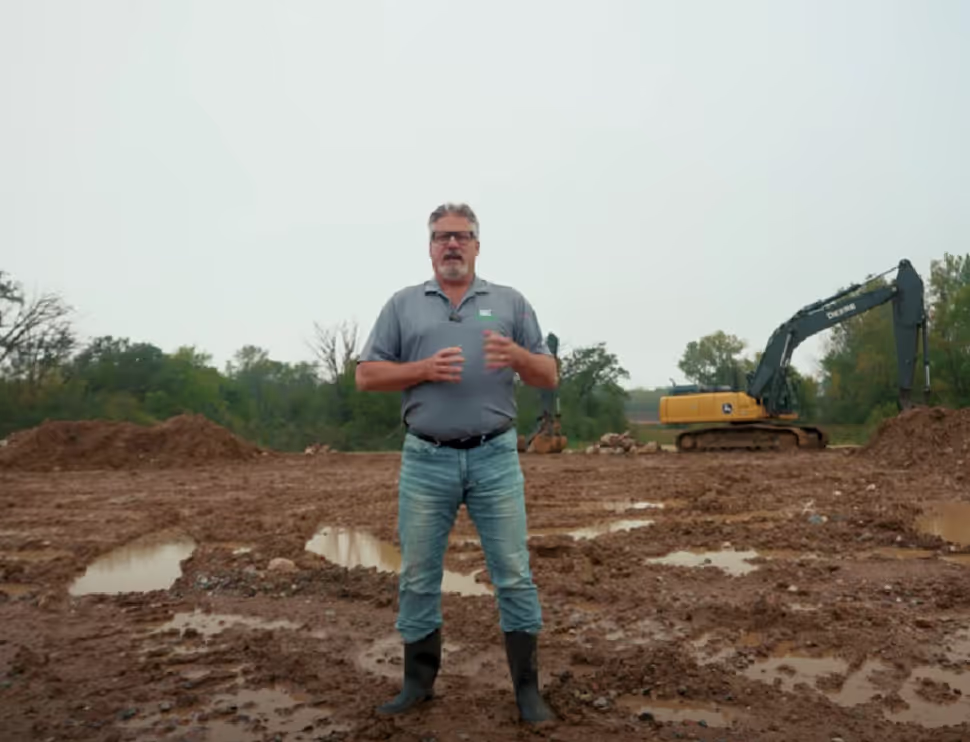
At Country Creek Builders, we've completed over 500 basement finishing projects throughout Lakeville, Apple Valley, Rosemount, and the South Metro Twin Cities. In our 25+ years of experience, we've seen what happens when homeowners skip proper moisture management—and it's not pretty. Thousands of dollars in beautiful finishes ruined by water damage, mold growing behind walls, and musty odors that make the space unusable.
The good news? These problems are completely preventable when you address moisture management before you finish your basement, not after.
Basements exist in a hostile environment. They're surrounded by soil that holds water, subject to groundwater pressure, exposed to Minnesota's extreme freeze-thaw cycles, and naturally prone to condensation due to temperature differences. This creates a perfect storm for moisture problems.
Water finds its way into basements through multiple pathways:
Hydrostatic Pressure: Groundwater in saturated soil pushes against foundation walls and floors, forcing water through any crack, gap, or porous area. After heavy rains or during spring snowmelt, this pressure intensifies dramatically.
Surface Water: Rainwater and snowmelt that doesn't drain properly away from your foundation can seep through walls or accumulate in window wells, eventually finding entry points.
Condensation: Warm, humid air meeting cool basement surfaces creates condensation—basically, your basement is "sweating." This is especially common in Minnesota summers when outdoor humidity is high.
Capillary Action: Concrete and masonry materials can actually wick water upward from the ground like a sponge, bringing moisture into your basement from below.
Plumbing Leaks: While not technically a "moisture" issue, plumbing failures in basements create water problems that quickly damage finished spaces.
Finishing a basement without proper moisture management sets you up for these problems:
Mold and Mildew Growth: Mold can begin growing on damp surfaces within 24-48 hours. Behind walls where you can't see it, mold colonies thrive on drywall paper, wood framing, and insulation. The health implications—especially for children and those with allergies or asthma—can be serious.
Structural Damage: Moisture weakens wood framing, causes fasteners to rust, deteriorates drywall, and damages flooring. What starts as a small moisture problem can compromise your entire finished basement's structural integrity.
Destroyed Finishes: Water stains on walls and ceilings, warped flooring, peeling paint, deteriorating trim—moisture ruins the aesthetics you invested thousands to create.
Persistent Odors: That characteristic "basement smell" comes from mold, mildew, and bacterial growth in damp environments. Once established, these odors are extremely difficult to eliminate without addressing the underlying moisture source.
Reduced Air Quality: Mold spores, dust mites (which thrive in humid environments), and other allergens make basements unhealthy, especially problematic since basements often have limited air circulation.
Wasted Investment: We've seen homeowners spend $100,000+ finishing beautiful basements only to tear everything out 2-3 years later due to moisture damage that could have been prevented with a $5,000-$10,000 upfront investment in proper moisture management.
Our Minnesota climate creates unique challenges for basement moisture control:
Minnesota winters bring repeated freezing and thawing that:
Spring snowmelt combined with spring rains creates:
Minnesota summers can be remarkably humid:
Many South Metro areas have clay-heavy soil that:
These factors mean that moisture management strategies that work in other climates may be inadequate for Minnesota basements.
Effective moisture management isn't about one single solution—it's a comprehensive system that addresses multiple moisture pathways simultaneously. Here's the proper approach Country Creek Builders uses:
The first line of defense happens outside your basement:
Proper Grading: The ground around your foundation should slope away at a minimum of 6 inches over 10 feet. This directs surface water away from the foundation rather than toward it. In many South Metro homes, this grading has settled over time and needs correction.
Gutter and Downspout Systems: Functioning gutters collect roof water, and downspout extensions (minimum 6 feet from foundation, 10+ feet is better) carry it safely away. Surprisingly, this simple system prevents more basement water problems than almost anything else.
Window Well Drainage: Egress windows and other basement windows need properly installed window wells with:
Foundation Waterproofing: For existing homes, exterior waterproofing involves excavating around the foundation and applying waterproof membranes. While expensive ($10,000-$30,000 depending on home size), this is sometimes the only solution for severe water intrusion.
Even with good exterior management, interior systems provide backup protection:
Drain Tile System: A perimeter drainage system (often called "drain tile") installed around the interior foundation perimeter collects water before it can enter your basement. Water flows through perforated pipe to a sump pump.
Sump Pump Installation: A quality sump pump system includes:
Floor Crack Repair: Cracks in basement floors provide direct water entry. Proper repair involves:
Wall Crack Repair: Foundation wall cracks need professional assessment. Some require:
Preventing moisture vapor from entering finished space:
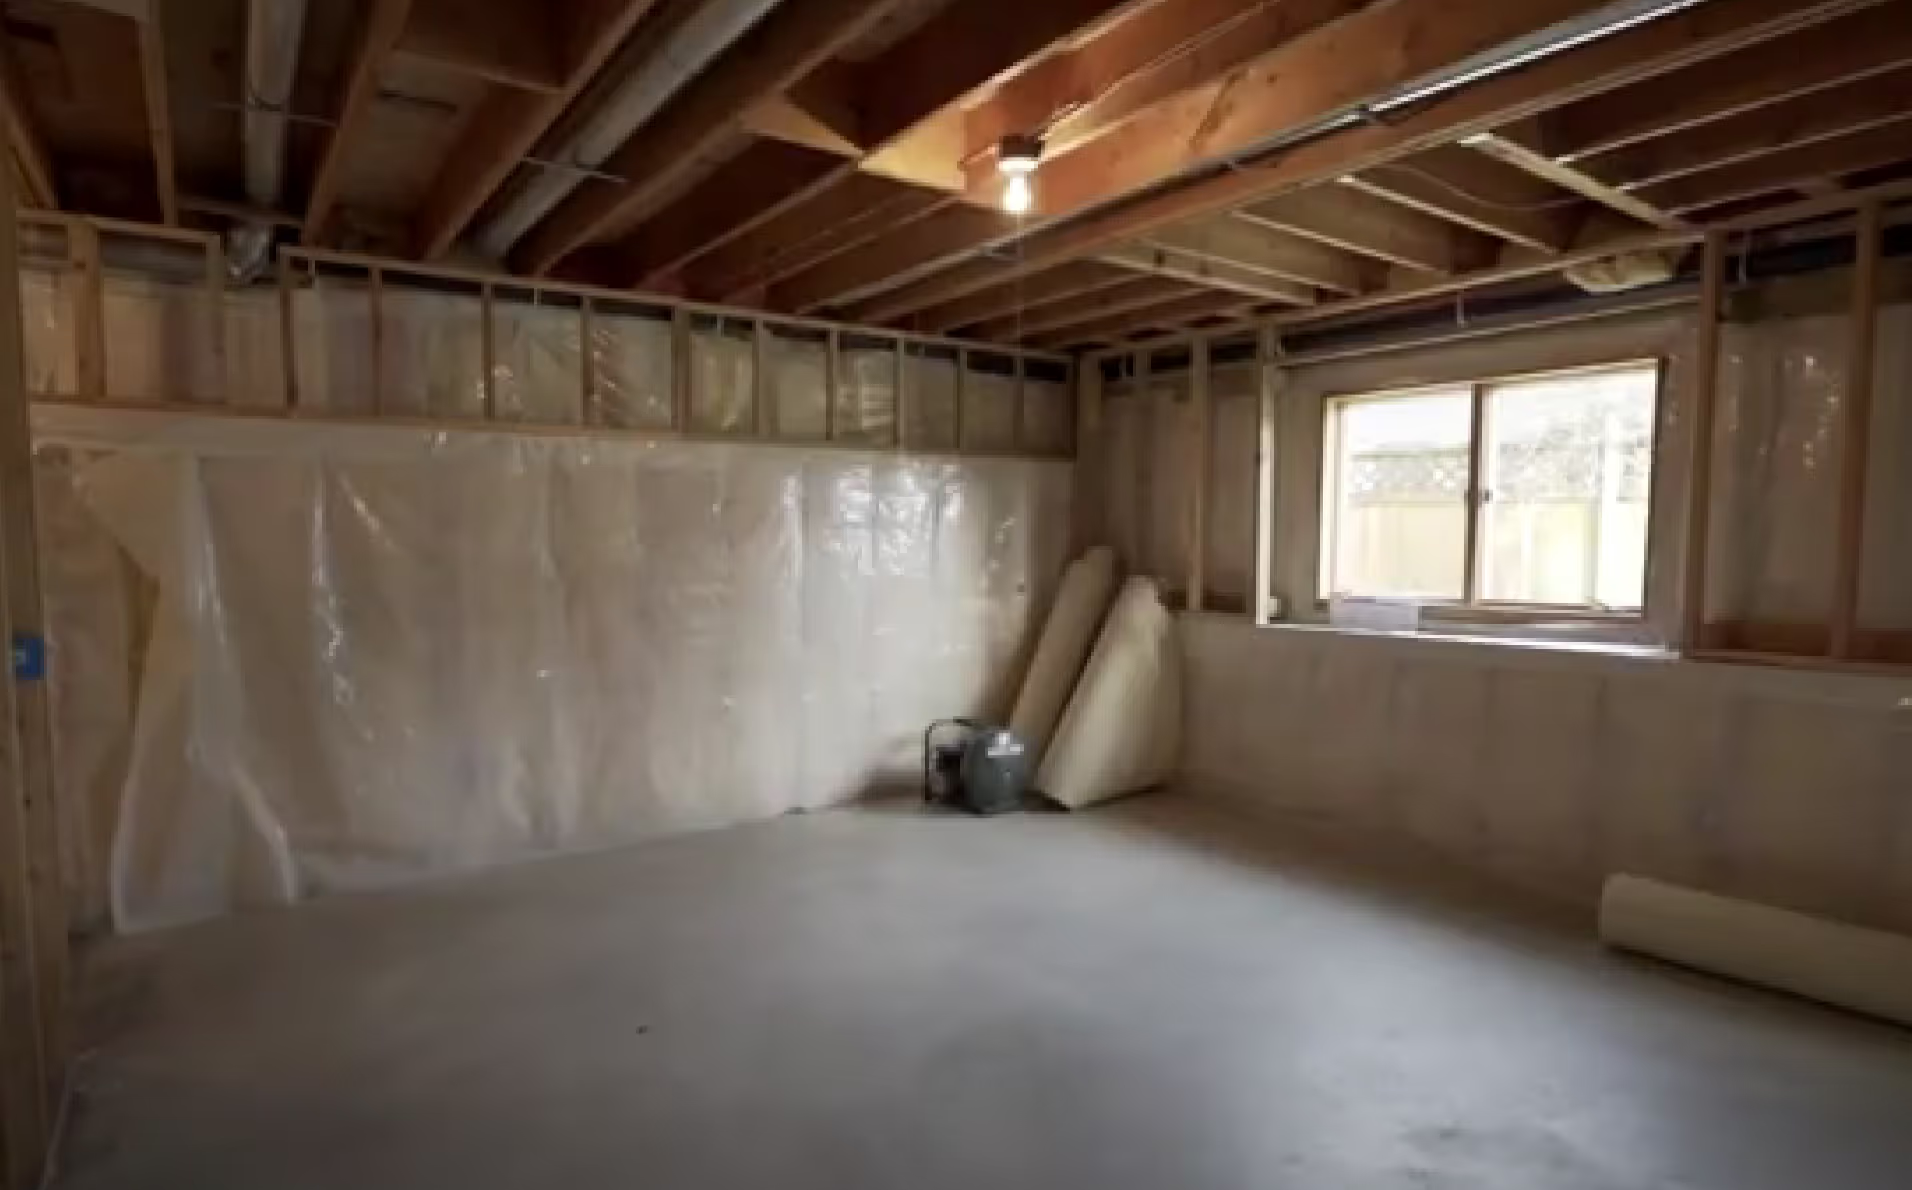
Vapor Barrier on Walls: Before framing and finishing, we install vapor barriers on foundation walls to:
Proper Insulation Selection: Not all insulation works in basements. We use:
Air Sealing: Sealing gaps and penetrations prevents:
Managing humidity levels in finished space:
Whole-House Dehumidification: For Minnesota basements, we often recommend:
Mechanical Ventilation: Basement air needs to move:
Bathroom Ventilation: Any basement bathroom needs:
Choosing materials that handle moisture better:
Flooring Choices:
Wall Finishes:
Paint Selection:
Furniture and Built-ins:
When you work with Country Creek Builders on your basement finishing project, here's how we approach moisture management:
We evaluate your basement's current condition:
We identify specific issues:
We create a moisture management plan addressing:
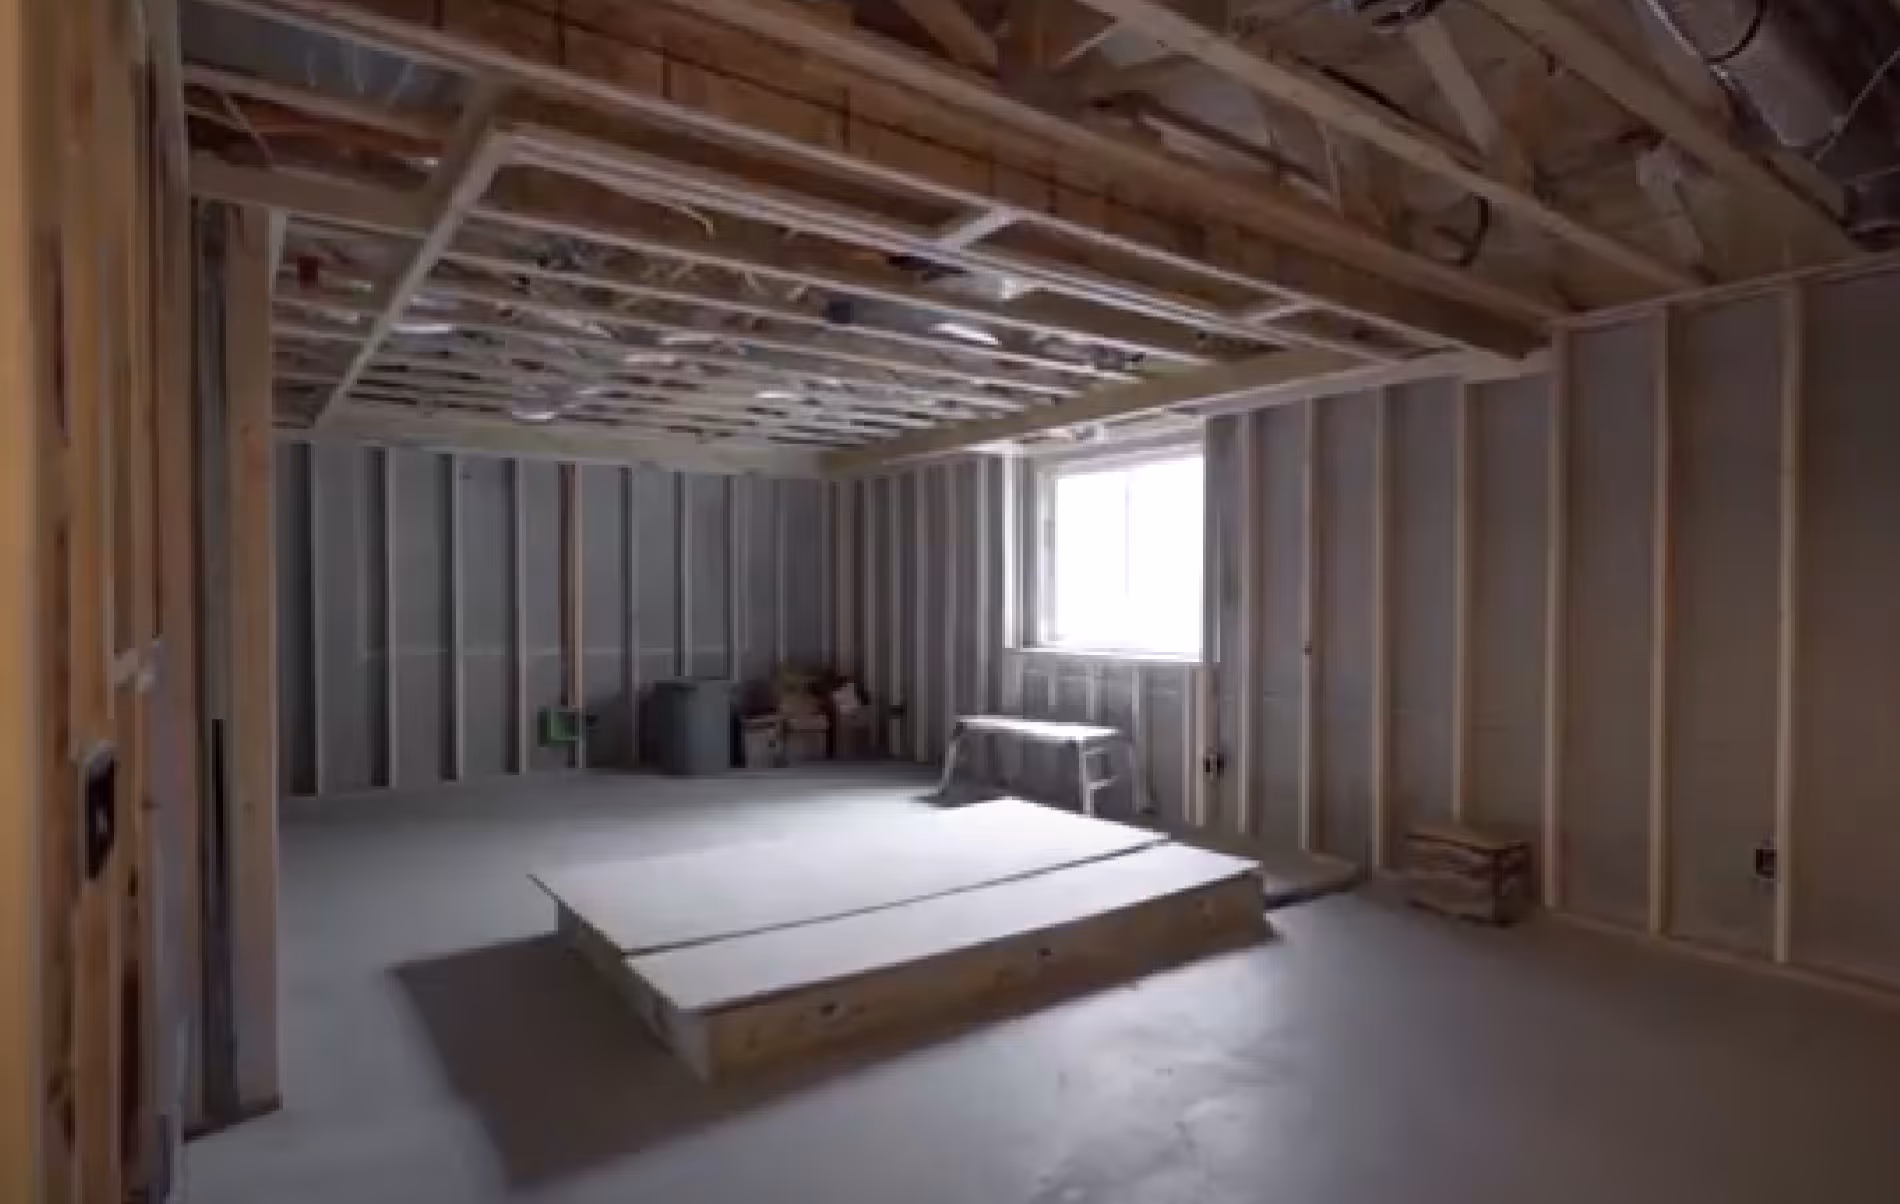
Critical moisture management work happens before we start finishing:
As we finish your basement, we continuously incorporate moisture management:
We ensure long-term success by:
In our 25+ years finishing basements, we've seen these costly mistakes repeatedly:
Some homeowners think: "I'll finish the basement and deal with moisture if problems occur." This is backwards. Once finished:
Do it right: Moisture management must come BEFORE finishing, not after.
Those advertisements for miraculous waterproofing paints that stop basement leaks? They rarely work as promised because:
Do it right: Address water sources, don't just try to seal them out with paint.
Installing a sump pump or drain tile seems straightforward, but improper installation leads to:
Do it right: Work with experienced professionals who design systems correctly the first time.
That small wet spot after heavy rains? That slight musty smell? These "minor issues" signal bigger problems:
Do it right: Address moisture problems immediately, before they escalate.
Finishing basements with non-moisture-resistant materials:
Do it right: Specify moisture-appropriate materials from the start.
A small portable dehumidifier can't handle Minnesota basement humidity. Insufficient dehumidification leads to:
Do it right: Size dehumidification properly for your basement's volume and your climate.
Homeowners often worry about moisture management costs. Let's examine typical investments:
For basements with minor moisture concerns:
This level handles basements that are generally dry but need preventive measures.
For basements with noticeable moisture issues:
This level addresses active but manageable water intrusion.
For basements with serious water problems:
This level solves severe water intrusion and chronic flooding.
Consider the alternative costs:
Investing $5,000-$15,000 upfront prevents $50,000-$150,000 in damages and repairs later. This isn't an expense—it's insurance for your investment.
Minnesota building codes include specific requirements related to basement moisture and related concerns:
Minnesota law requires consideration of radon when finishing basements:
While radon mitigation and moisture management are separate concerns, they often work together:
Country Creek Builders coordinates both systems seamlessly, ensuring your basement meets all Minnesota requirements.
Minnesota requires egress windows in basement bedrooms, and proper installation includes moisture management:
We address these requirements as part of our comprehensive moisture management approach.
Minnesota electrical code includes moisture-related requirements:
Occasionally, we evaluate basements and recommend NOT finishing them—at least not yet. This happens when:
Severe Active Water Intrusion: Water regularly enters through multiple pathways, requiring expensive structural repairs before finishing makes sense.
Major Foundation Problems: Significant cracks, bowing walls, or settlement issues that need structural engineering and repair first.
Flood Zone Issues: Homes in floodplains where finished basements may not be advisable or insurable.
Cost-Prohibitive Moisture Solutions: When moisture management costs exceed the value added by finishing.
At Country Creek Builders, our honesty means sometimes telling homeowners what they don't want to hear. If your basement isn't ready to finish, we'll tell you why and what needs to happen first. Your satisfaction is our #1 priority—and that means setting you up for success, not taking your money for a project that won't work.
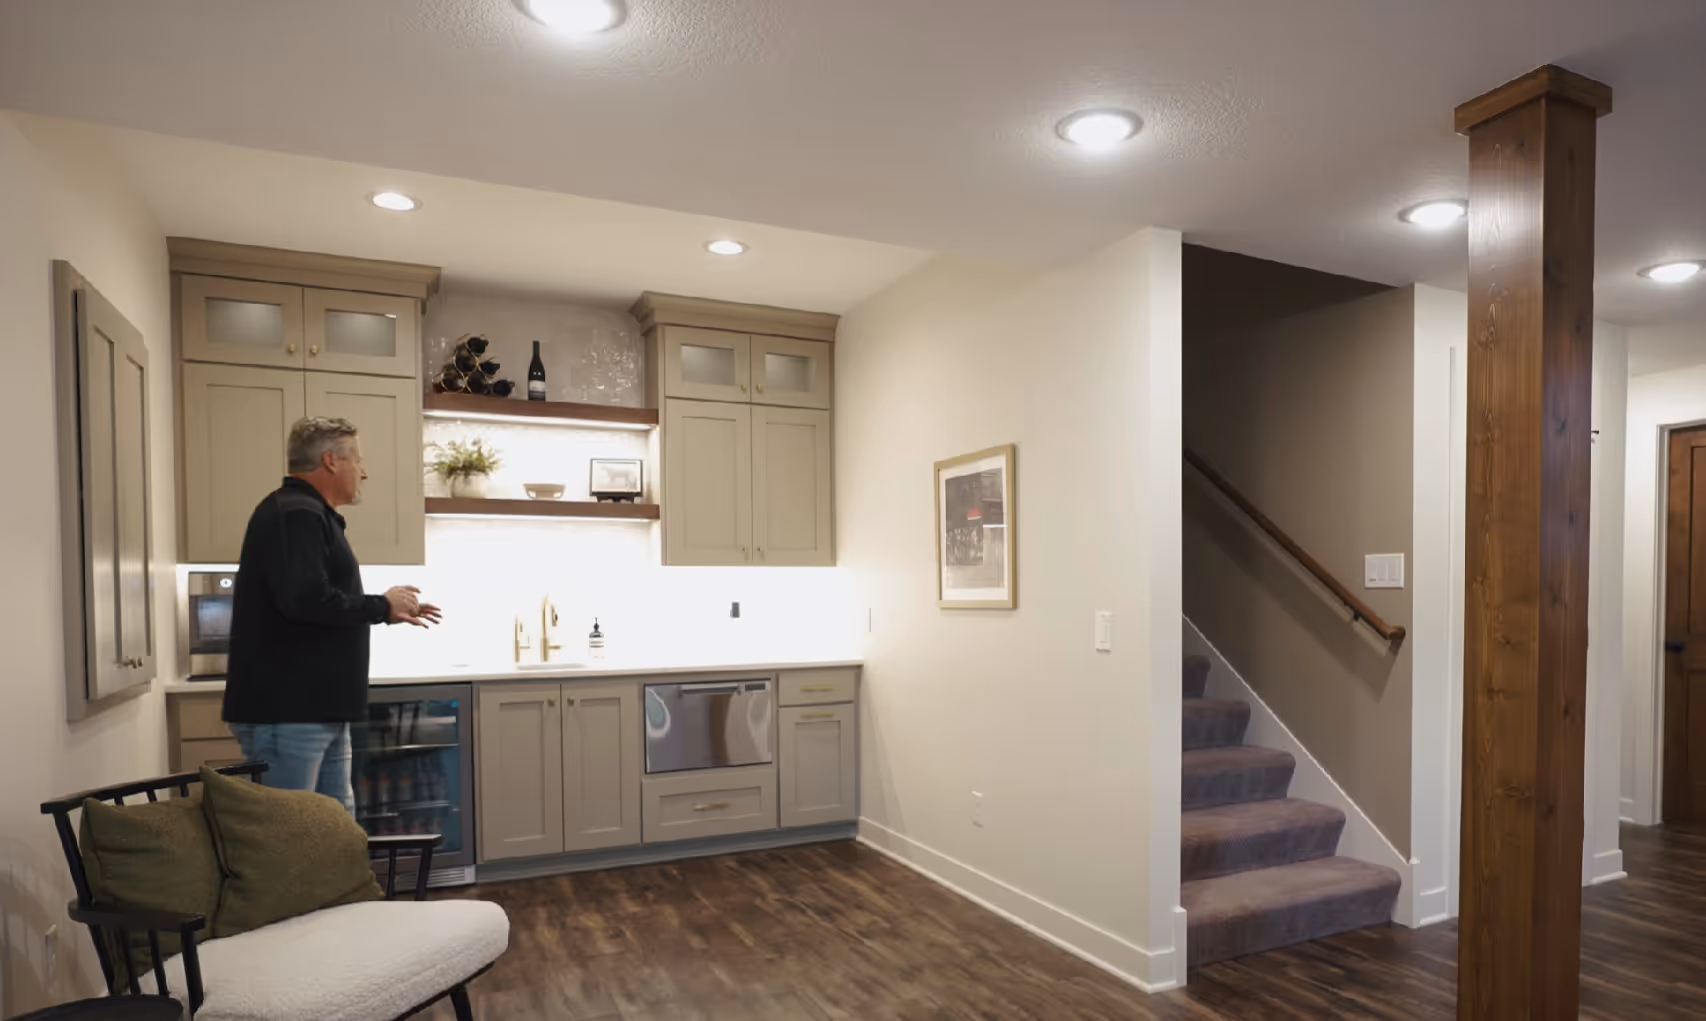
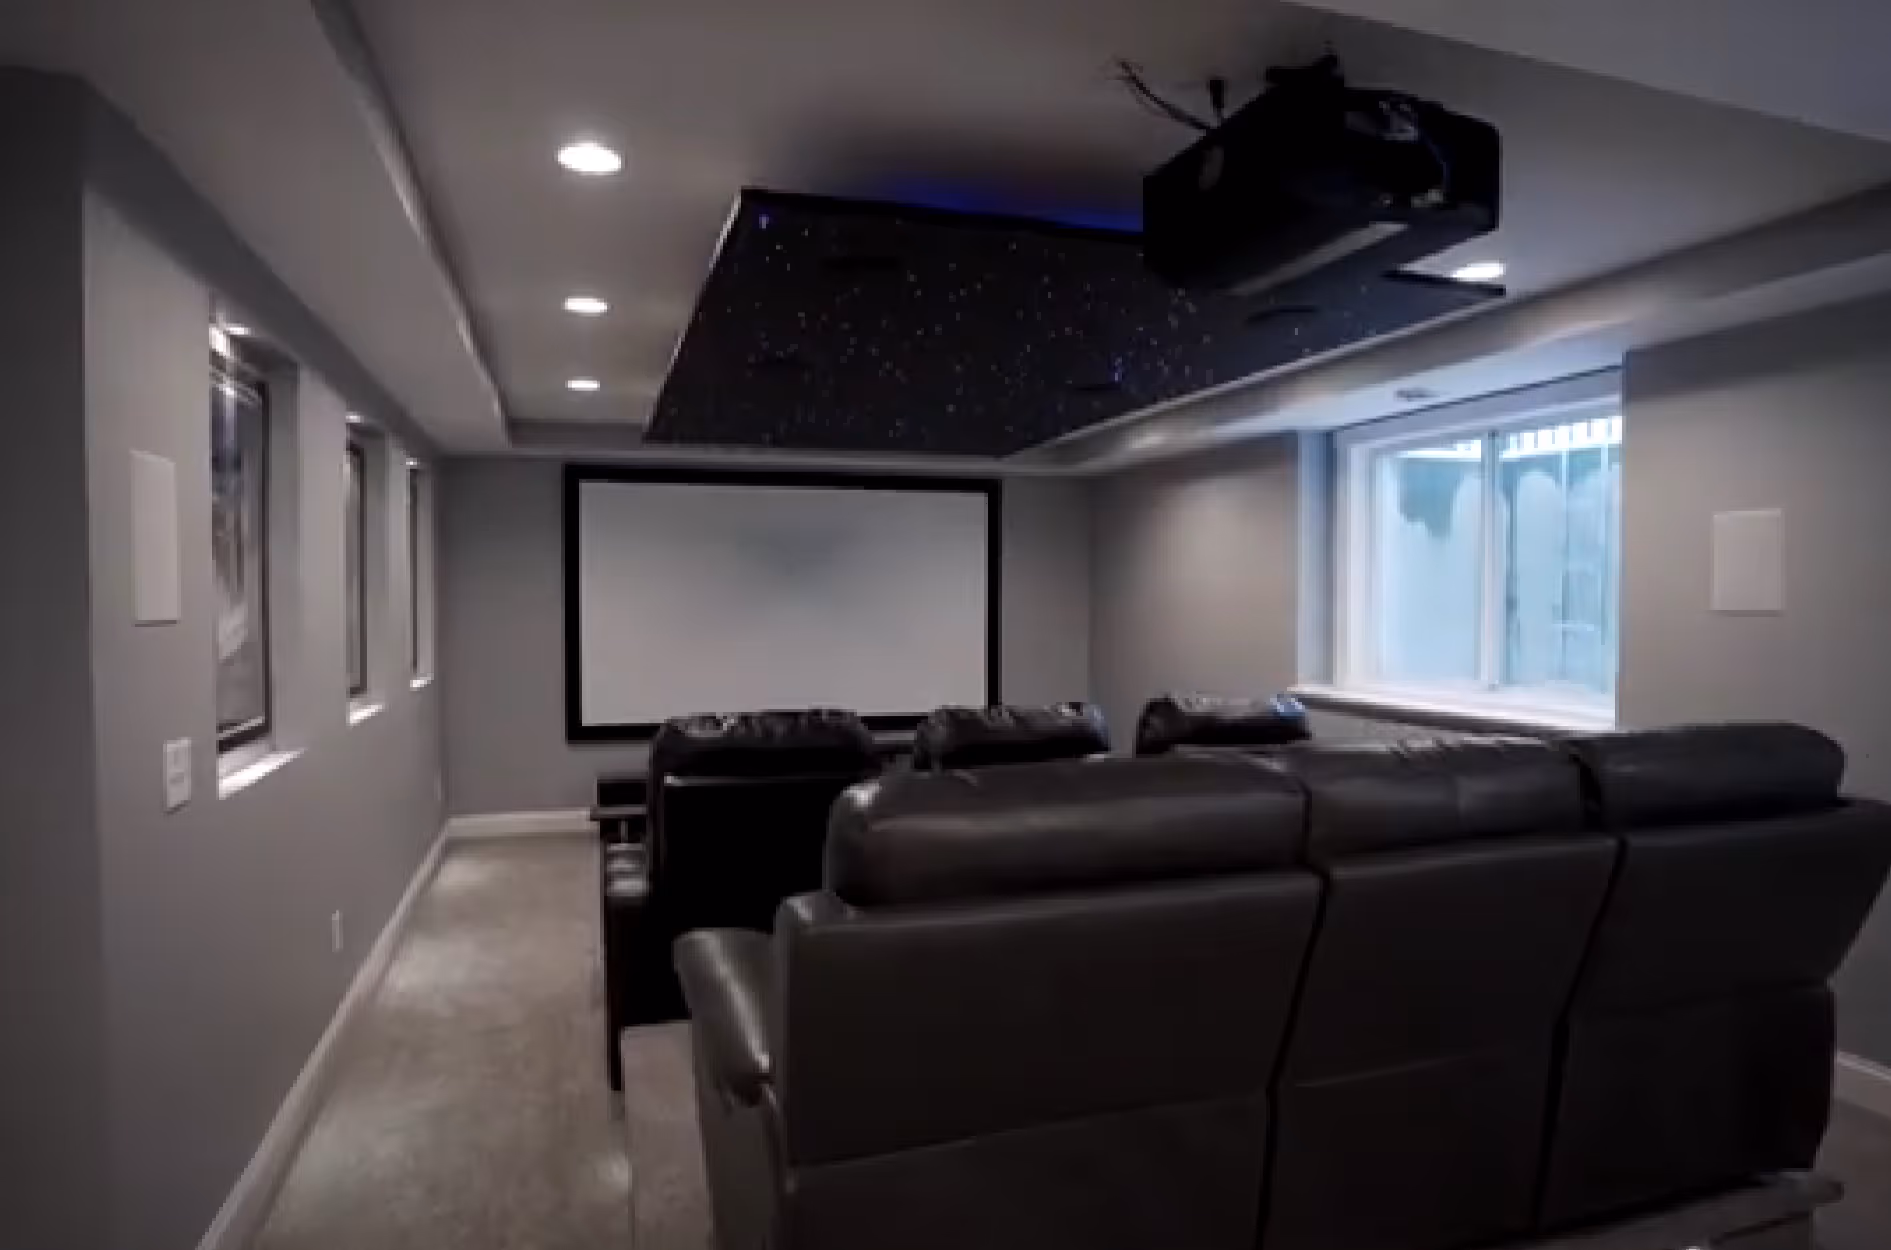
At Country Creek Builders, we've finished hundreds of basements throughout the South Metro Twin Cities—and every successful project started with proper moisture management. We don't cut corners on this critical foundation because we know that beautiful finishes only matter if they're built to last.
Our approach combines:
Whether you're in Lakeville, Apple Valley, Rosemount, Farmington, Prior Lake, Savage, or Burnsville, we're ready to help you create a basement that stays dry, healthy, and beautiful for decades.
Schedule your complimentary consultation today. We'll:
Don't risk your investment by skipping proper moisture management. Let Country Creek Builders show you the right way to finish your basement—starting with the foundation of success: keeping water where it belongs (outside).
Contact Country Creek Builders to begin your basement finishing project with the confidence that comes from addressing moisture management properly from day one.
We're based out of the South Metro Twin Cities, and we serve both